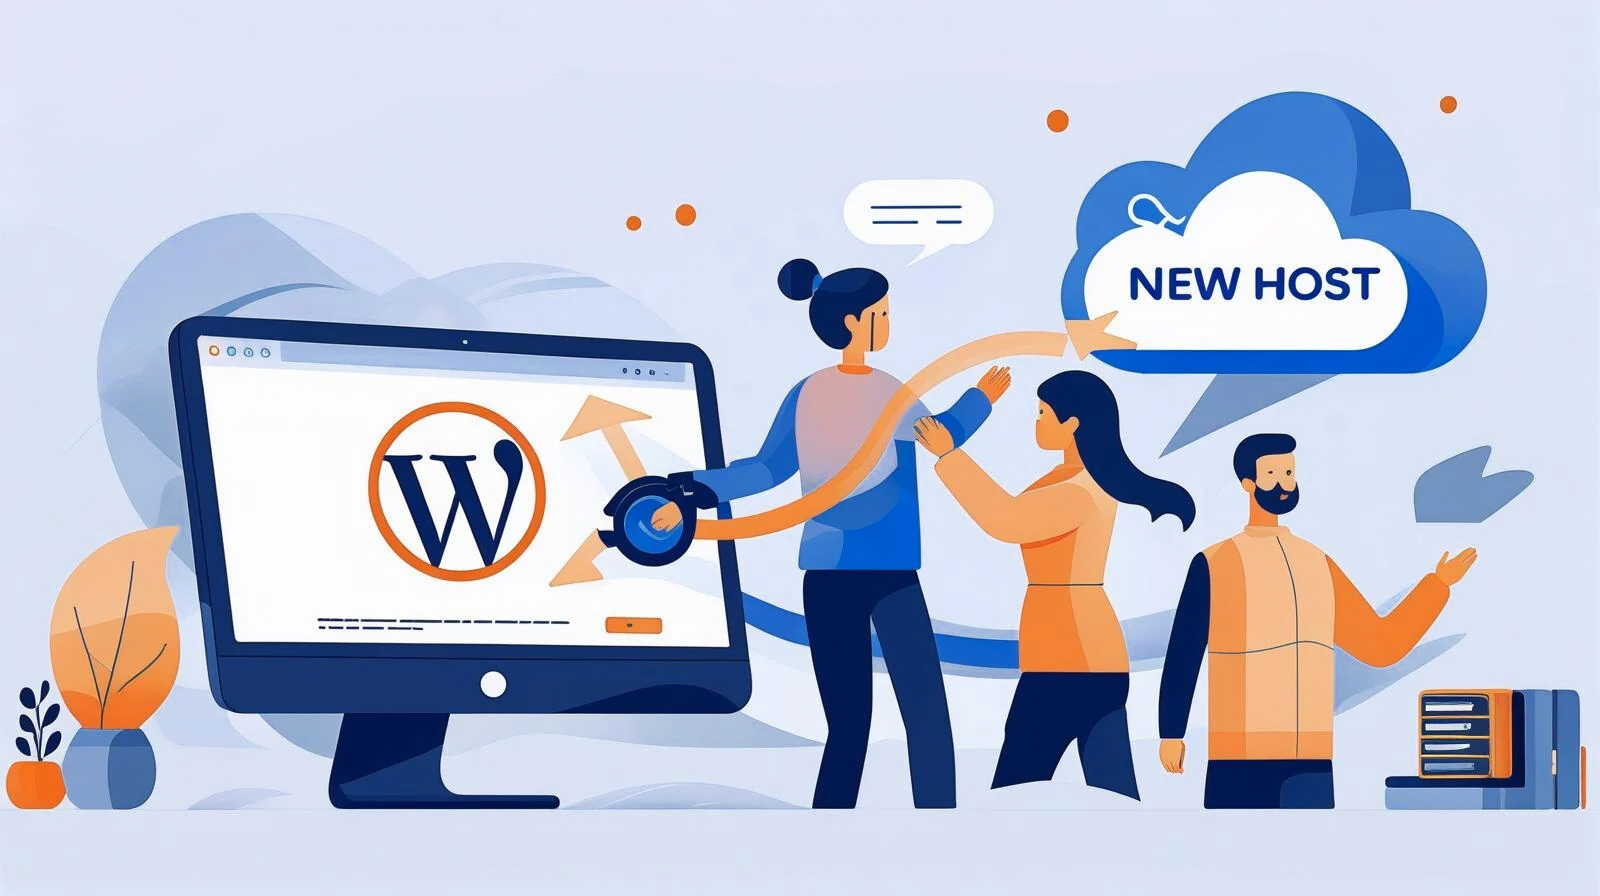
Have you ever felt stuck with your hosting provider?
Maybe your site is loading slowly, support is unresponsive, or you’ve found a faster and cheaper option. Whatever the reason, it might be time to move your WordPress site to a new host. The good news is, it’s not as complicated as it sounds. You don’t need advanced technical skills just the right steps to follow.
Let’s go through them together..
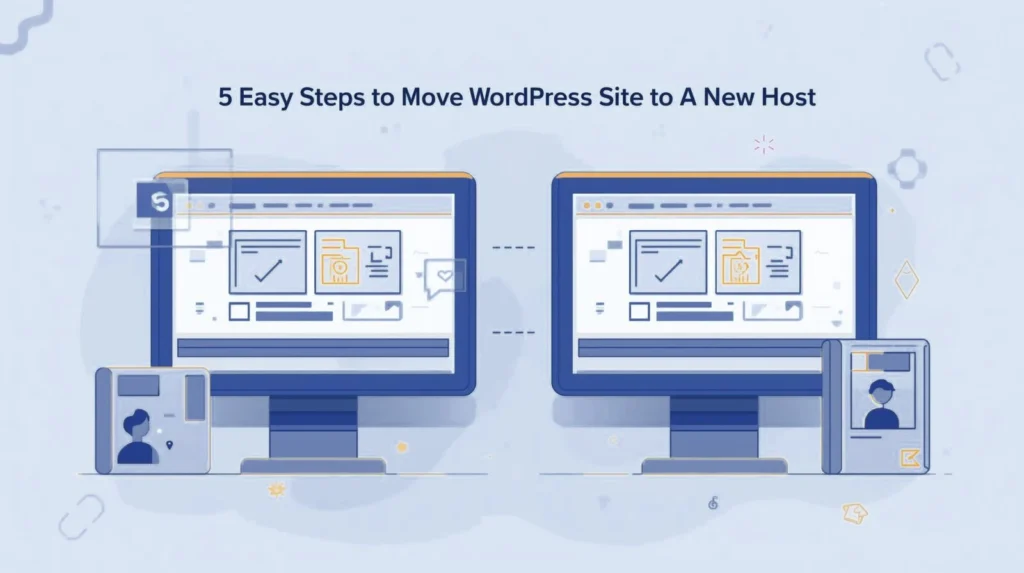
Step 1: Back up your site
Think of this like packing your stuff before moving houses. You don’t want to leave anything behind.
Use a plugin like UpdraftPlus or All-in-One WP Migration, or ask your host if they offer backups. Just make sure you’ve got a full copy of your site saved.
Step 2: Pick your new host
This is like choosing your new neighborhood. You want it to be safe, fast, and reliable.
Look for:
- A host that loads quickly
- Good customer support (because problems happen!)
- Solid uptime so your site doesn’t keep going offline
Step 3: Move your site
Now comes the actual “moving.” You can:
- Use a migration plugin like Duplicator or Migrate Guru (easy way).
- Or, if you’re hands-on, move the files and database manually.
If you’re not comfortable with the technical part, it’s totally okay to ask for help.
Step 4: Update your domain
This part is like changing your address. You’ll need to point your domain to the new host by updating DNS settings.
Don’t worry if that sounds confusing most hosting companies will guide you through it. It usually just takes a few hours to update.
Step 5: Test, test, test
Before you fully move in, walk through your “new house.”
- Check your pages
- Click your links
- Test your forms
- Make sure everything looks right
This helps you avoid surprises later.
Tips After Migrating Your WordPress Site
Once your site is live on the new host, don’t stop there. A few extra steps will help ensure everything runs smoothly:
- Test your website thoroughly
Check every page, form, and image to confirm they load correctly. - Set up automatic backups
Protect your new hosting environment by scheduling regular backups. - Enable SSL and HTTPS
Make sure your SSL certificate is active so your site stays secure. - Monitor site speed and performance
Use tools like Google PageSpeed Insights to see if the new host improves your load times. - Check SEO settings
Confirm that permalinks, meta tags, and sitemap are still working properly. - Keep the old hosting account for a short time
Wait at least a week before canceling your old plan, just in case you need to roll back.
Common Mistakes to Avoid When Move your WordPress Sites
Many beginners make simple mistakes that can cause downtime or errors during migration. Here are the most common ones:
- Not creating multiple backups
If your only backup is corrupted, you’ll have no fallback option. - Forgetting to update wp-config.php
Database details must match the new host, or your site won’t load. - Deleting old files too soon
Keep your old hosting account active until you’re sure the new site works perfectly. - Ignoring broken links and images
Some internal links or media may break after migration check your pages carefully. - Panicking during DNS propagation
Domain updates can take 24–48 hours. Be patient while the new host goes live.
Let’s be real
Migrating your website can feel overwhelming if you’ve never done it before. But just like moving houses, once you break it down step by step, it’s totally manageable.
And the best part? Once you’re on your new host, your site will likely be faster, safer, and way easier to manage.
Want someone to handle it for you?
If you’d rather not deal with the stress, we’ve got you covered.
At ManageMySite.io, we move WordPress sites all the time. We’ll take care of the backups, the migration, and the testing so you can focus on your business, not your hosting.
👉 Ready to move without the headache? Reach out to us here and let’s make it simple.


